In the bustling city of San Francisco, space is a premium commodity, and repurposing a garage into a vibrant art studio is an inventive and practical solution. This extensive guide takes you through the transformative journey of converting your mundane garage into an inspiring sanctuary for creativity in the heart of California’s cultural hub.
Understanding San Francisco's Regulations for Garage Conversions
Before you start, it’s crucial to understand the city’s regulations. San Francisco has rules regarding building codes, zoning, and permits that you must adhere to when converting a garage. Ensure your conversion plan is compliant by contacting the San Francisco Planning Department for guidance.
Planning Your Art Studio Conversion

Converting a space into an art studio is an exciting project. To plan your art studio conversion effectively, you might want to consider the following steps:
- Define Your Needs and Goals: Determine what kind of art you’ll be creating in the studio. This will affect your space requirements, lighting needs, and the type of storage you’ll need. For example, a painter might need good natural light and space for an easel, while a sculptor might require more floor space and heavy-duty shelving.
- Choose the Right Space: Select a room or area in your home that can be dedicated to your art. Consider factors like size, light (natural and artificial), ventilation (especially if you’re working with chemicals or fumes), and accessibility.
- Plan the Layout: Sketch a layout of the studio, placing major items like desks, easels, shelves, and storage. Ensure there’s enough room to move around comfortably and consider the flow of your work process.
- Lighting: Good lighting is crucial in an art studio. If natural light is limited, invest in quality artificial lighting that mimics daylight. Adjustable and directional lights can also be helpful.
- Storage Solutions: Organize your materials and tools so they are easily accessible. This might include shelving, drawers, pegboards, or cabinets. Consider how you use your materials and place them accordingly.
- Flooring: Choose a floor that is easy to clean and won’t be damaged by spills. Hardwood, laminate, or vinyl are good choices. You might also want to consider an area rug or mat for comfort if you stand for long periods.
- Inspiration and Personalization: Decorate your studio in a way that inspires you. This could be through color, artwork, inspirational quotes, or anything that stimulates your creativity.
- Budgeting: Determine your budget for the conversion. This will guide your decisions on what to buy, DIY options, and where you might need to compromise.
- DIY or Professional Help: Decide if you can do the conversion yourself or need professional help, especially for aspects like electrical work or custom carpentry.
- Safety and Ergonomics: Ensure your studio is safe (especially when working with hazardous materials) and ergonomically designed to prevent strain or injury.
Remember, your studio should be where you feel comfortable and inspired, so personalize it to suit your style and needs.
Navigating the Permit Process in San Francisco

Securing the proper permits is a non-negotiable aspect of your garage conversion. San Francisco’s permit process can be intricate, and hiring a professional who can navigate the system and ensure all paperwork is in order is recommended. Here’s a general guide to help you through this process:
- Determine If You Need a Permit: Not all projects require a permit, but many do, especially those that involve structural changes, electrical work, plumbing, or significant alterations. Check with the San Francisco Planning Department or Building Inspection Department to see if your project requires a permit.
- Research Local Regulations: Familiarize yourself with local building codes, zoning regulations, and any historic district requirements if applicable. San Francisco has specific rules that might affect your project, such as height restrictions, design guidelines, and neighborhood-specific standards.
- Prepare Your Documentation: You’ll likely need to submit detailed project plans, including architectural drawings and engineering reports. These should be prepared by licensed professionals if required. Ensure your plans comply with local codes and regulations.
- Submit Your Application: Go to the San Francisco Planning Department to submit your application and documentation. Be prepared to pay a fee, which varies depending on the scope of your project.
- The Review Process: After submission, your application will be reviewed. This can involve multiple city departments depending on the project’s complexity. Be prepared for this process to take some time.
- Addressing Feedback: It’s common to receive feedback or requests for additional information. Be prompt and thorough in your responses to avoid delays.
- Public Notification and Comment Period: Some projects require a general notification period, where neighbors can view your plans and submit comments or objections. Be prepared to address these concerns.
- Obtaining the Permit: You will be issued a permit once your application is approved and all fees are paid. This document should be posted visibly on your project site.
- Inspections: During and after your project, city inspectors may visit the site to ensure the work complies with your permit and local regulations. Be prepared for multiple inspections for larger projects.
- Final Approval: Once the project is completed and passes final inspection, you’ll receive a notice of completion or final approval, which signifies the end of the permit process.
- Stay Informed and Flexible: Rules and regulations can change, and each project might encounter unique challenges. Stay informed and be flexible to adjust your plans as needed.
It’s recommended to consult with a professional who has experience in San Francisco’s permit process, such as an architect, contractor, or permit expediter, to guide you through the steps and help avoid common pitfalls.
Essential Considerations for a Garage-to-Art Studio Conversion
Insulation and Climate Control
San Francisco’s weather can be unpredictable, and proper insulation is paramount. Consider installing high-quality insulation to maintain a comfortable temperature year-round. Invest in a robust climate control system to protect your art from humidity and temperature fluctuations.
Lighting Solutions
Good lighting is vital in an art studio. Take advantage of natural light by installing skylights or large windows. Supplement with adjustable artificial lighting for a consistent and controlled environment, crucial for art creation.
Flooring Options
Flooring should be durable, easy to clean, and supportive of long hours of standing. Consider materials like polished concrete, vinyl, or bamboo flooring for a combination of comfort and practicality.
Soundproofing
Soundproofing your studio ensures that you can work undisturbed and won’t disturb your neighbors. This can be achieved through insulation materials, double-glazed windows, and sound-absorbing wall panels.
Ventilation
Proper ventilation is especially important if you’re working with paints, solvents, or any materials that emit fumes. Installing an efficient exhaust system and ensuring that your space has adequate airflow will create a safe working environment.
Storage Solutions
Storage is crucial in a studio to keep supplies organized and readily accessible. Built-in cabinets, pegboards, and rolling carts are excellent space-saving solutions.
Utility Access
Depending on your art medium, you may need access to water or specific electrical setups. Plan for sinks, additional outlets, or specialized equipment early in the design process.
The Conversion Process: Step by Step

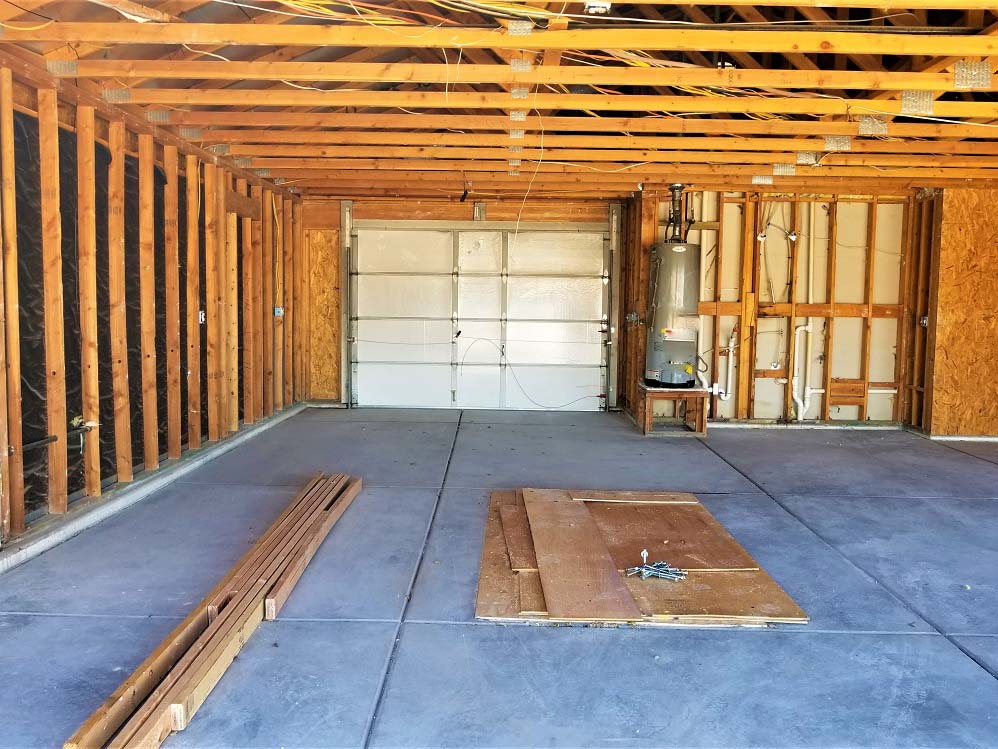
Step 1: Clearing Out and Prepping the Space
Begin by clearing out your garage. This process includes removing old fixtures, decluttering, and preparing the space for renovation.
Step 2: Addressing Structural Changes
If structural changes are required, such as removing or adding walls, this is the time to do it. Ensure that any structural work is done in compliance with San Francisco’s building codes.
Step 3: Installing Insulation and Drywall
Once the structure is sound, install insulation and drywall. This step will shape your studio’s interior and provide the canvas for your creative space.
Step 4: Upgrading Utilities
Upgrade the electrical wiring and plumbing to support your studio needs. Remember to have all electrical work inspected and certified according to local regulations.
Step 5: Flooring Installation
Install your chosen flooring, ensuring it is durable and easy to maintain. A good floor can significantly impact the feel and functionality of your studio.
Step 6: Painting and Decorating
Paint the interior with colors that inspire creativity. Consider a white or neutral palette to reflect light and provide an unobtrusive backdrop for your art.
Step 7: Lighting and Ventilation
Install the lighting and ventilation systems. Balancing these elements will contribute to the overall comfort and usability of your studio space.
Step 8: Organizing and Furnishing
Choose furniture that is practical and comfortable. Easels, worktables, and storage should be arranged to create a seamless workflow.
Step 9: Final Touches and Personalization
Add the final touches to personalize your studio. This might include artwork displays, plants, or unique decor that marks inspiration and joy in your creative process.
Step 10: Safety Checks and Adjustments
Ensure all safety measures, such as fire extinguishers and first aid kits, are in place. Test all equipment and make any necessary adjustments.
Making the Most of Your New Art Studio

Hosting Art Shows
Your new studio is not just a workspace; it can also serve as a gallery. Host art shows to showcase your work to friends, family, and potential buyers.
Collaborative Space
Consider sharing your space with other artists. Collaborative work can lead to new ideas and opportunities, and sharing costs can make maintaining the studio more affordable.
Community Workshops
Offer workshops or classes in your studio. This is a great way to engage with the community and provide an additional income stream.
Embracing the Artistic Community of San Francisco
San Francisco is home to a vibrant artistic community. Participating in local art events and joining art groups can provide support and enhance your visibility as an artist.
Conclusion
Converting your garage into an art studio in San Francisco, CA, is a journey that blends practicality with creativity. It’s about making the most of your space, respecting the local regulations, and creating an environment that nurtures your artistic endeavors.
With careful planning, attention to detail, and a touch of imagination, your garage can transcend its humble origins to become a cornerstone of your creative life. It’s not just a transformation of space; it’s an investment in your artistic future in one of the world’s most inspiring cities.
Remember, this is a general guide. For a successful conversion, tailor these steps to fit your specific needs and consult with professionals to ensure your new art studio is safe, compliant, and perfectly suited to your artistic practice. Happy creating!
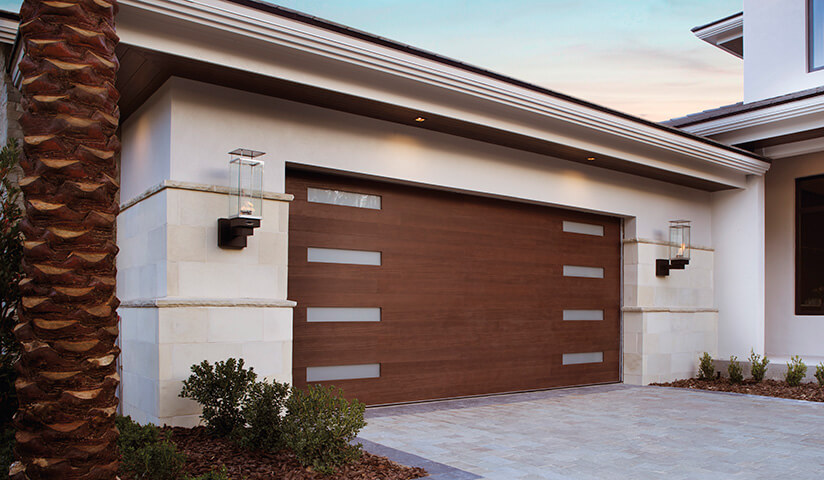
Ready to transform your Garage into Art Studio?
At Rhino Garage Conversion San Francisco, we specialize in turning ordinary garages into extraordinary spaces. Our expertise lies in transforming your garage into an artistic haven, a place where creativity knows no bounds. Living in San Francisco, a city renowned for its vibrant art and culture, your garage can become a personal studio, a gallery, or a peaceful retreat for artistic pursuits.
Our team of skilled professionals will work with you to bring your vision to life. Whether you’re an artist seeking a private studio, a collector wanting to display your art, or simply looking for a unique space to inspire creativity, we’ve got you covered. From selecting the proper lighting to ensure your artwork shines to custom shelving and storage for your supplies, every detail is considered.
We understand that each project is unique, and we’re dedicated to creating a space that reflects your style and meets your specific needs. With Rhino Garage Conversion San Francisco, your garage will be more than just a storage space – it will be a testament to your love for art and a cornerstone of your creative life in San Francisco. Let us help you transform your garage into an artistic haven that inspires and delights.